Here are some photos taken during the demo I gave at Duncan McClellan Gallery. Majority of the time spent making my work is in the cold shop grinding and polishing. In this blog I will document the process and show how go through my process. If there are any questions, please feel free to email me and I will fill in the gaps as best as I can. I feel I am so close to the work that I more than likely miss explaining valuable information.
Here is the completed video of the process of this piece.
Below you can find more info on the process.


Once the piece arrived back at my studio in Chattanooga, I started planning the design of the piece. Sometimes I stew over the design for awhile until the design in my head feels right for the piece. I finally decided to go with a technique I used on a previous piece. The Xs will be the areas that are totally removed or cut through and the area labeled white will be the area where I will remove the clear layer and the lime green layers to reveal the white underneath. Then the final steps will be to bring it back to a polish. The marker lines are rough guild lines, I can cut a straighter line in glass than I can draw on glass.


These photos are of the piece divided. The lines that are cut on the surface will be where the lime green will be removed by grinding using industrial diamonds.


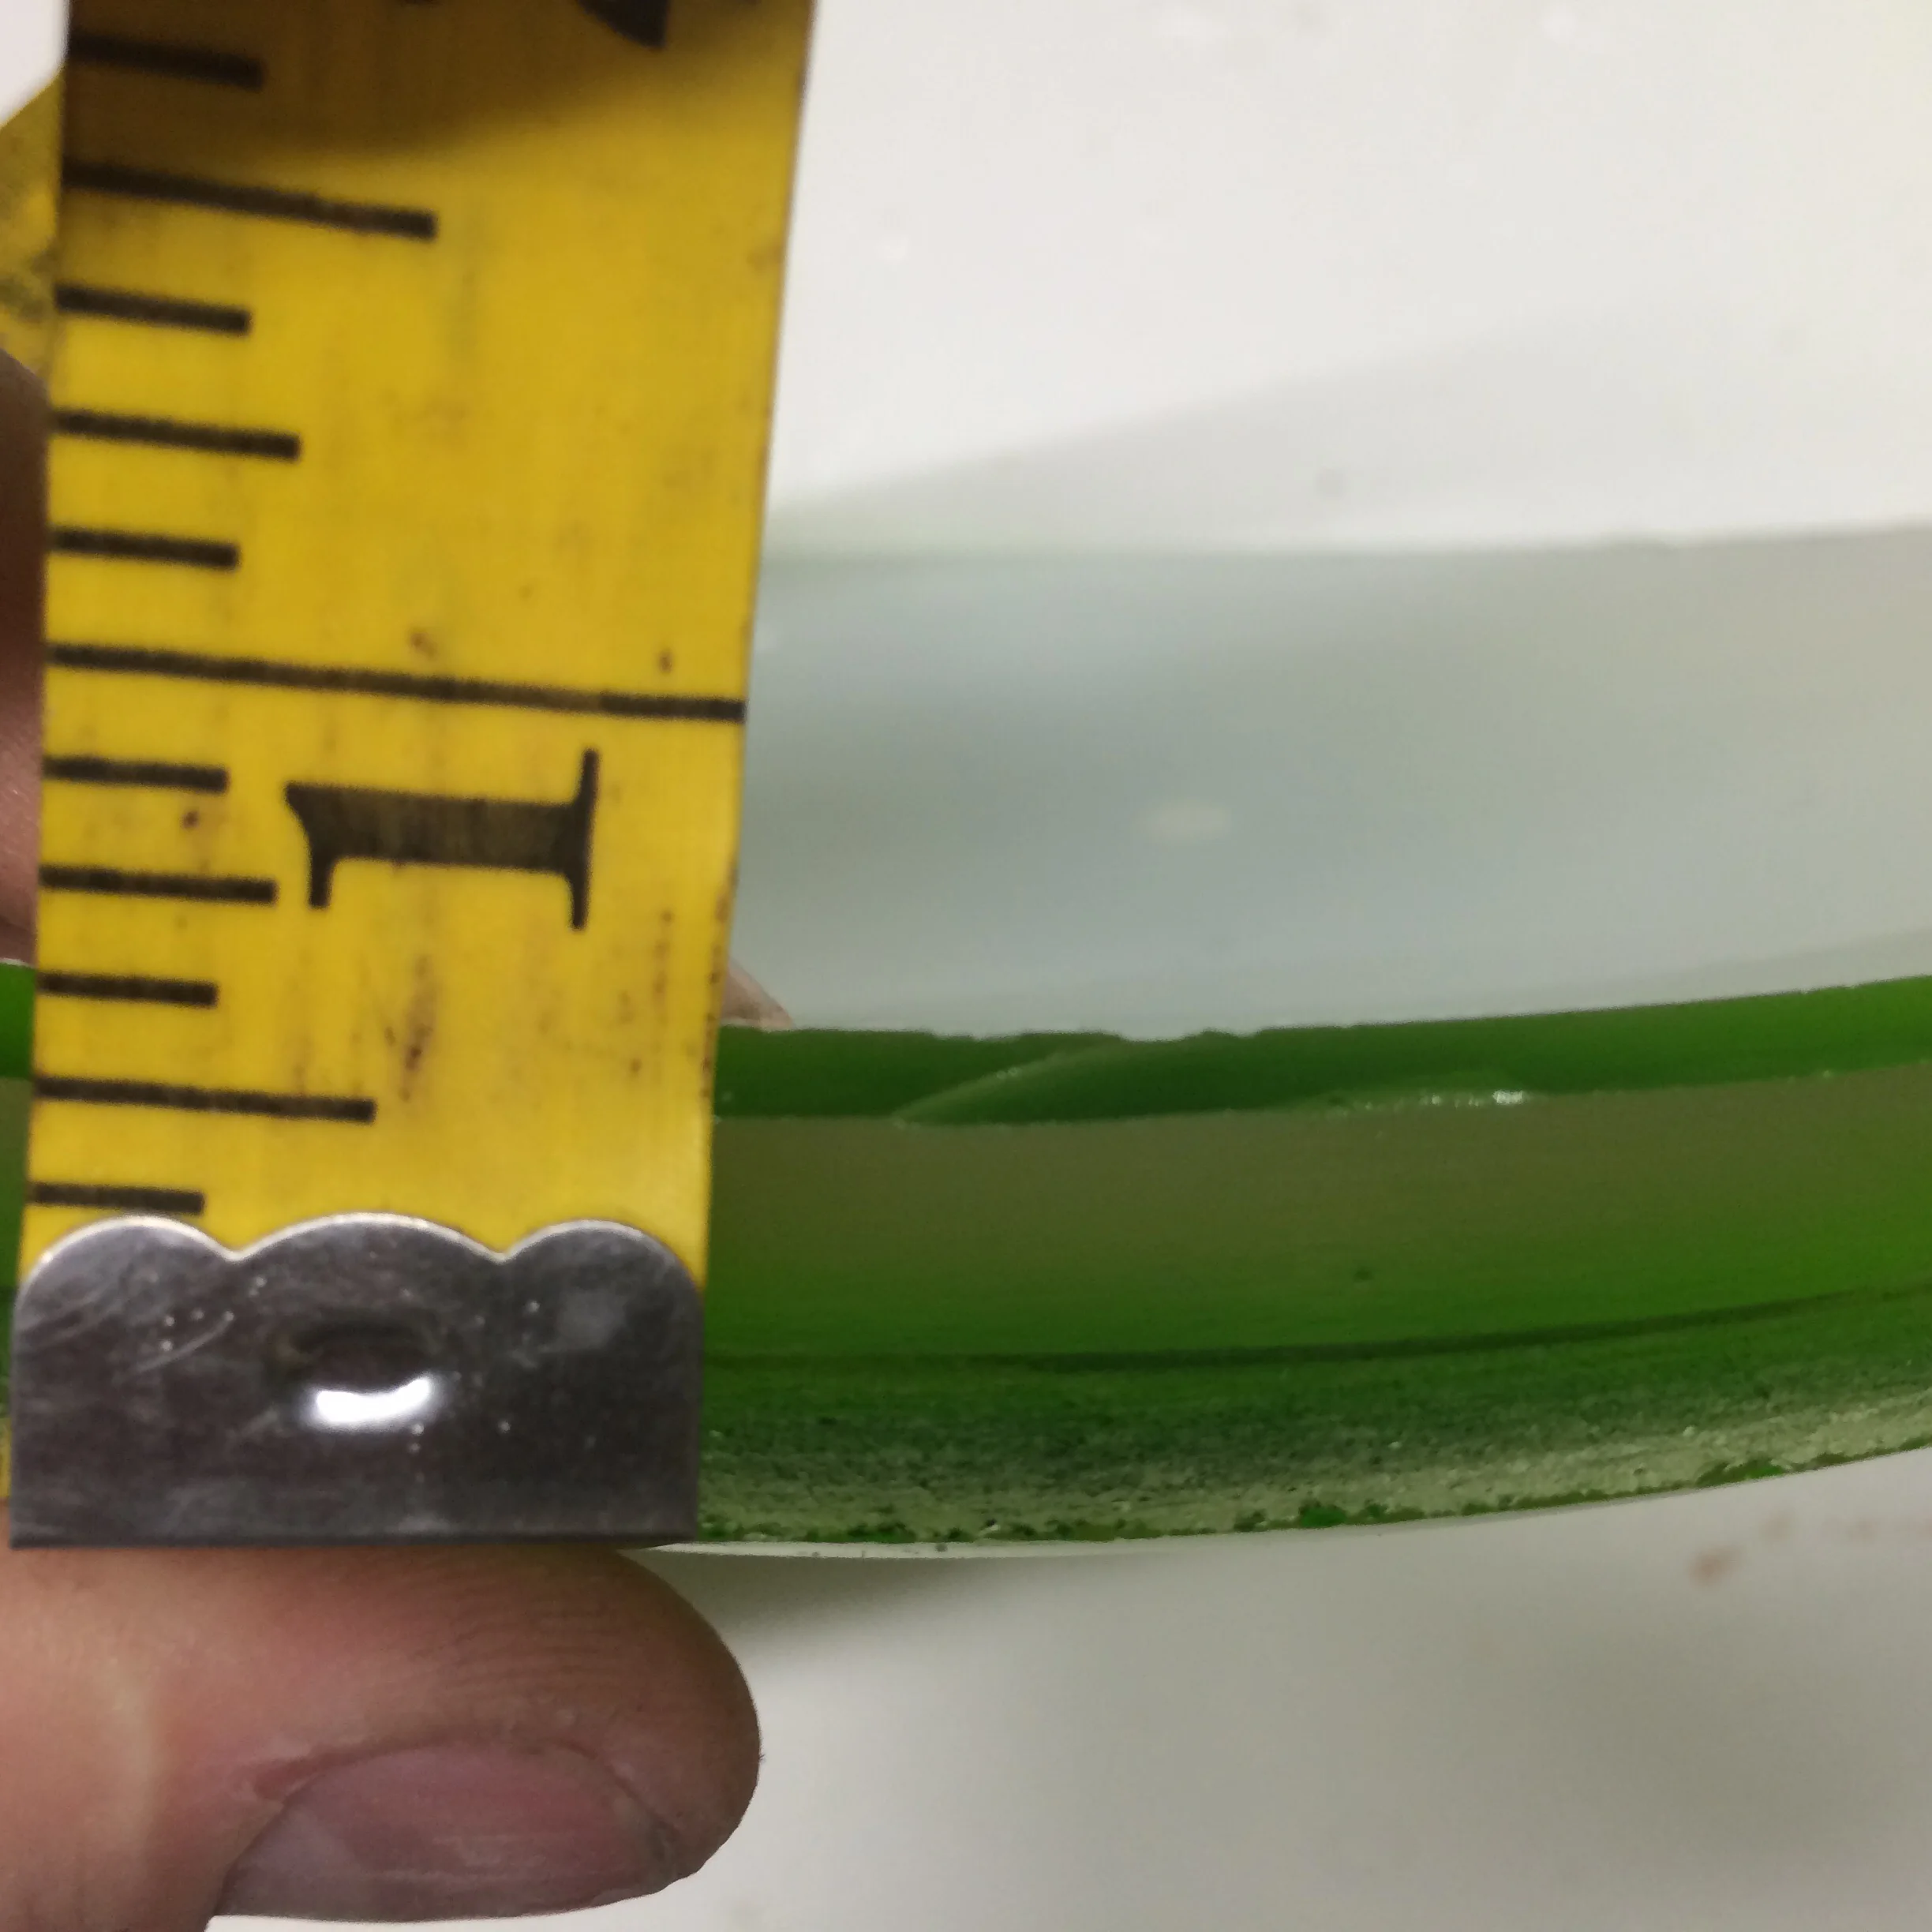
A measurement of the thickness of the piece.
Results of the removal of the green. Now time to start smoothing out and polishing the surface.


Smoothed surface.

Kind of a prepolished surface just before final polished finish.
